


DIY Clothing Hacks - T-Shirt Upcycle to an Empire Waist Top
Today I'll show you how to upcycle t-shirts. We'll do a DIY clothing hack to make a Men's t-shirt into a fitted women's empire waist top, all without having to sew! Let’s get crafting!
Watch the video on my Tara Monster Makes channel or follow the instructions below. It's so easy, let's do a t-shirt transformation in no time!
Items you'll need:
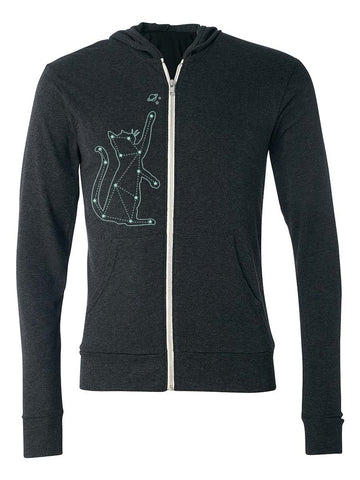
Large Mens Shirt
Scissors
Ruler
Chalk
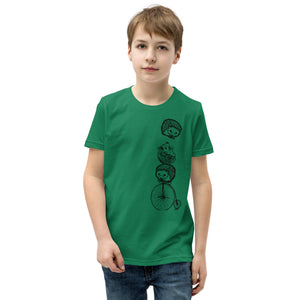
For this tutorial, you will be working with a t-shirt that we used in one of my last videos, the front weave tutorial. But you can use any old regular men's shirt I just want to make this one that we made a little bit more fitted since all we did was work with this top part here. So the best way to do that is you want to measure the shirt while it’s on your body and knows right where you want your empire waist to be and then you'll just mark that with a piece of chalk.
- 1. The empire waist is going to go right here because it's right underneath where I stopped my weaving. Now that we have that marked we're going to fold the shirt in half so that we can make the cuts for the weaving of the empire waist. And we are going to be cutting through both the front and the back of the shirt for this tutorial.
- 2. Fold the shirt right in half directly below where you made your chalk mark. Make sure you have it nice and flat and we are going to cut in 1/2 inch from the top of your chalk mark line, and that will make the holes a total of 1 inch long.
- 3. To keep our cuts in line we just put our ruler down, again just making sure that everything is very very pressed flat. You're going to cut your marks 1/2 an inch apart. My shirts a little bit bumpier here because of the weave, yours should be easier to cut because it will be all the way to flat.
- 4. Now we're going to open it up and you can see that we just have all these little cuts and they're exactly in the same spot on the back of the shirt as they are on the front of the shirt. In order to bring this shirt in, we are going to do a weave and in case you haven't seen my weaving 101 video I will put the link to it down below in the description be sure to stretch out your threads.
- 5. Stretch them enough that they curl. You're going to want to do this on both the front and the back. There's the front and now the back.
- 6. Now we're going to start the weaving, grab your top piece and put your next one over it. If you'd like to see a beginner’s tutorial on weaving I will put my link down below in the description. You are just going to read this all the way across, this is a very tight weave because our cuts are so small and close together but that is what really helps bring in the shirt. And it gives it a cool braided effect as well.
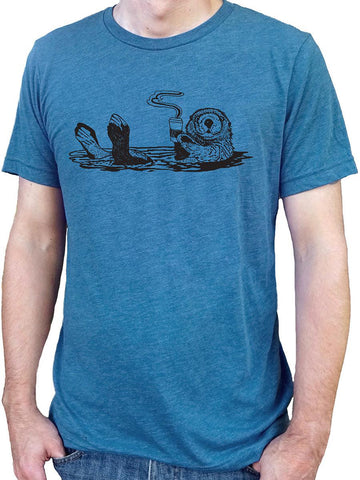
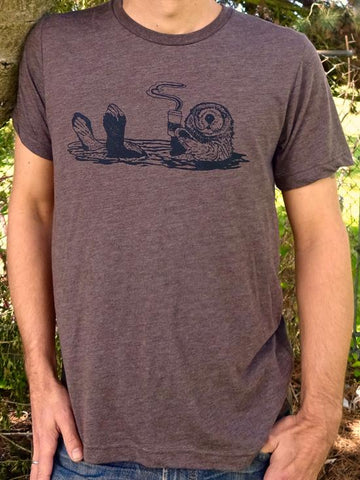
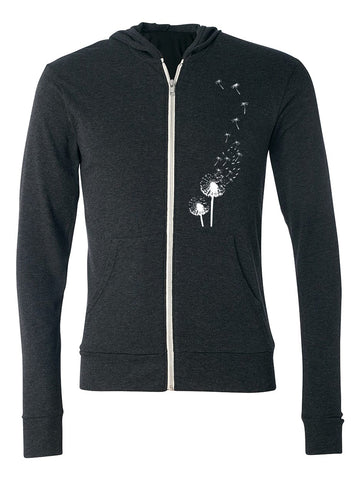
If your shirt has a plastisol design printed on the outside of it as mine does, you'll notice that it gets a little bit harder to braid and stretch through that part because plastisol inks do not stretch the same way water-based inks do.
That is just one of the reasons my Revival Ink Shirts are all printed with eco-friendly water-based inks. But since I got these shirts from the thrift store they're a lot older and printed with all kinds of things.
- 7. Now you’ve made it all the way to this end and then we want to connect it to the back, so you’re actually going to make a couple more cuts so that we can connect this. Stretching them now, I was just gonna tie them off but now I think it's better to have them get to be connected all the way across.
- 8. Now you'll flip over to the back and just continue during our weave all the way across. And now we've got all the way to the end and again you’re just gonna add a couple more cuts so that we can make this go all the way around to the other side.
Just taking care to not actually cut through the armhole, that's another reason why I leave the sides for last. You have to make sure that these are about the same length, and it looks like they are, go ahead and stretch them.
- 9. Continue your weave until it connects with the other side. There we've got all the way back to the start, and now cut the very last one in half and then tie it around the first rung of where we started. Actually, I noticed that this one's a little bit longer so I'm going to cut this one and tie it to this one it really doesn't matter which one you do.
Voila! we have a chain weave all the way around the shirt and you can already see just how much that's brought it in right across here to make it into an empire waist. Now we have this wonderfully fitted women's empire shirt but we still have some sleeves that are pretty big so you’re going to do a quick alter to these sleeves as well.
- 10. To alter the sleeves, fold it in half and match up the sleeves so as to make the same cuts. You also need to cut off the seams of both sleeves. Cut some slits so that we can weave the sleeves and make them smaller just like we did here. For the sleeves you’ll cut about one inch apart and in, two inches actually, you know if you want to have really big weaves (it'll look cool) let's do it three inches them, and making our cuts one inch apart.
- 11. We just stretch these out, until they curl, make sure to stretch out both sleeves. We're just going to weave up this sleeve as well. And now we have our cuts on both sleeves and you’ll also just going to make cuts here but you’re not going to cut down as far.
- 12. There are about two inches in, and once again one inch apart. Stretch them out and now we're going to cut out the seam. Okay, all the seams are cut off, stretch these and then just tie these all together in little square knots. Once we get to the sleeve part, weave them.
The sleeve part does not have a seam, this seam was just on the shoulders and that's why you have to do them differently. Then we'll do the same thing on the other side. This trips pretty wide so cut it in half one more time it's, just because of our v-neck neckline it's a little bit different.
Never be afraid to alter on the fly. Remember this is your design and you can change it any way that you see fit. If you make a mistake, just tie it together again.
Look at all those cute little bows we have going down the shoulders, much better than an ugly scene. We've made a handmade wardrobe!
- 13. Let's go ahead and weave the arms and when you get to the end, cut the strip in half and do the lobster claw technique. Cut the strip that you just cut in half, in half the long way to make little lobster claws. Stretch them just a little and tie it right to that next rung on your ladder. You’ll do it once more for the other side, and there we go! just cut these extra tails off.
If you're looking for something really interesting to do with your sleeves I also have a video on six different ways that you can alter your sleeves of a men's shirt so that they fit you better. I'm doing two of those techniques right here.
- 14. Now we're just going to weave this side, put the first one through the hole we made our bow in. Leave all the way down and now we're going to do the lobster claw and this one. I meant to cut off the extra tails.
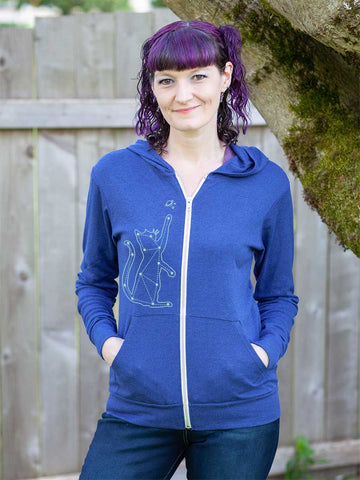
Now for my favorite part of the video let's go try it on. Look how much better our summer top shirt fits with a nice empire waist to bring it in.
Yay!! Now we have a better fitting Women's empire waist shirt.